Sound Deadening - A Crucial Step In Your Van Build
WELCOME TO TRAIL VAGABONDS VAN BUILD BLOG SERIES! In this series we will cover everything Van Build related. We will include as much detail and “how-to” tips and tricks as possible. Where applicable we will include free downloadable schematics, charts and other resources. If watching the process is more your style head on over to our Youtube Channel to our Van Build Series.
Congratulations! If you are reading this you have likely purchased a van that you hope to build into a weekend camper van or a home on wheels. A vehicle to fuel your adventures, keep you warm and dry and provide a place to rest your head. But now what? There are so many different aspects of a build that it can be hard to know where to start, what order to do things in and how to proceed! That is where our Van Build Blog Series, as well as our Youtube videos come into play! We have been through the process and have a lot of helpful recommendations, tips and tricks. Now, our way is not the ONLY way or even the BEST way, so we encourage you to do your research. Our blogs and videos should only be a small part of the puzzle in determining how you want to build and what materials you want to use. The idea that there is a “right” or “wrong” way to build out a van is a myth. Don’t let it hinder you! (obviously this doesn't apply to the electric! The “right” way is the safe way when electricity is involved!).
Once you have an empty shell of a vehicle, a blank canvas if you will - we highly recommend applying some sort of Sound Deadener as Step Number One in your van build. There are multiple different brands of sound deadener available on the market. We used Kilmat’s product and would highly recommend it. Other products include Noico, Dynamat, and Fatmat, amongst others.
But why should you sound deaden? If you’ve driven your empty shell of a van then you KNOW just how loud gravel pings in the wheel wells can really be! Sound deadener works to eliminate vibrations in the metal of your van which in turn makes for a much quieter and more comfortable ride. While sound deadening products will not contribute significantly to the insulation of your van, Kilmat does claim a low thermal conductivity for their product, which will help somewhat to diminish the transfer of heat from your van walls into the van. That being said this product definitely should not take the place of proper insulation! Kilmat products specifically are also waterproof which will help protect against rust and corrosion of the coverage area - which is a major battle for any van!
In summary these products:
Decrease noise pollution inside your van.
Help to diminish heat transfer from the van walls to inside the van.
Protect the coverage area against rust and corrosion.
Now that we have convinced you of this very necessary step in your van build let’s talk about HOW TO apply the product.
STEP #1: GATHER MATERIALS.
In order to install your sound deadener you will need the following materials:
Kilmat 80 mL, or comparable sound deadening product.
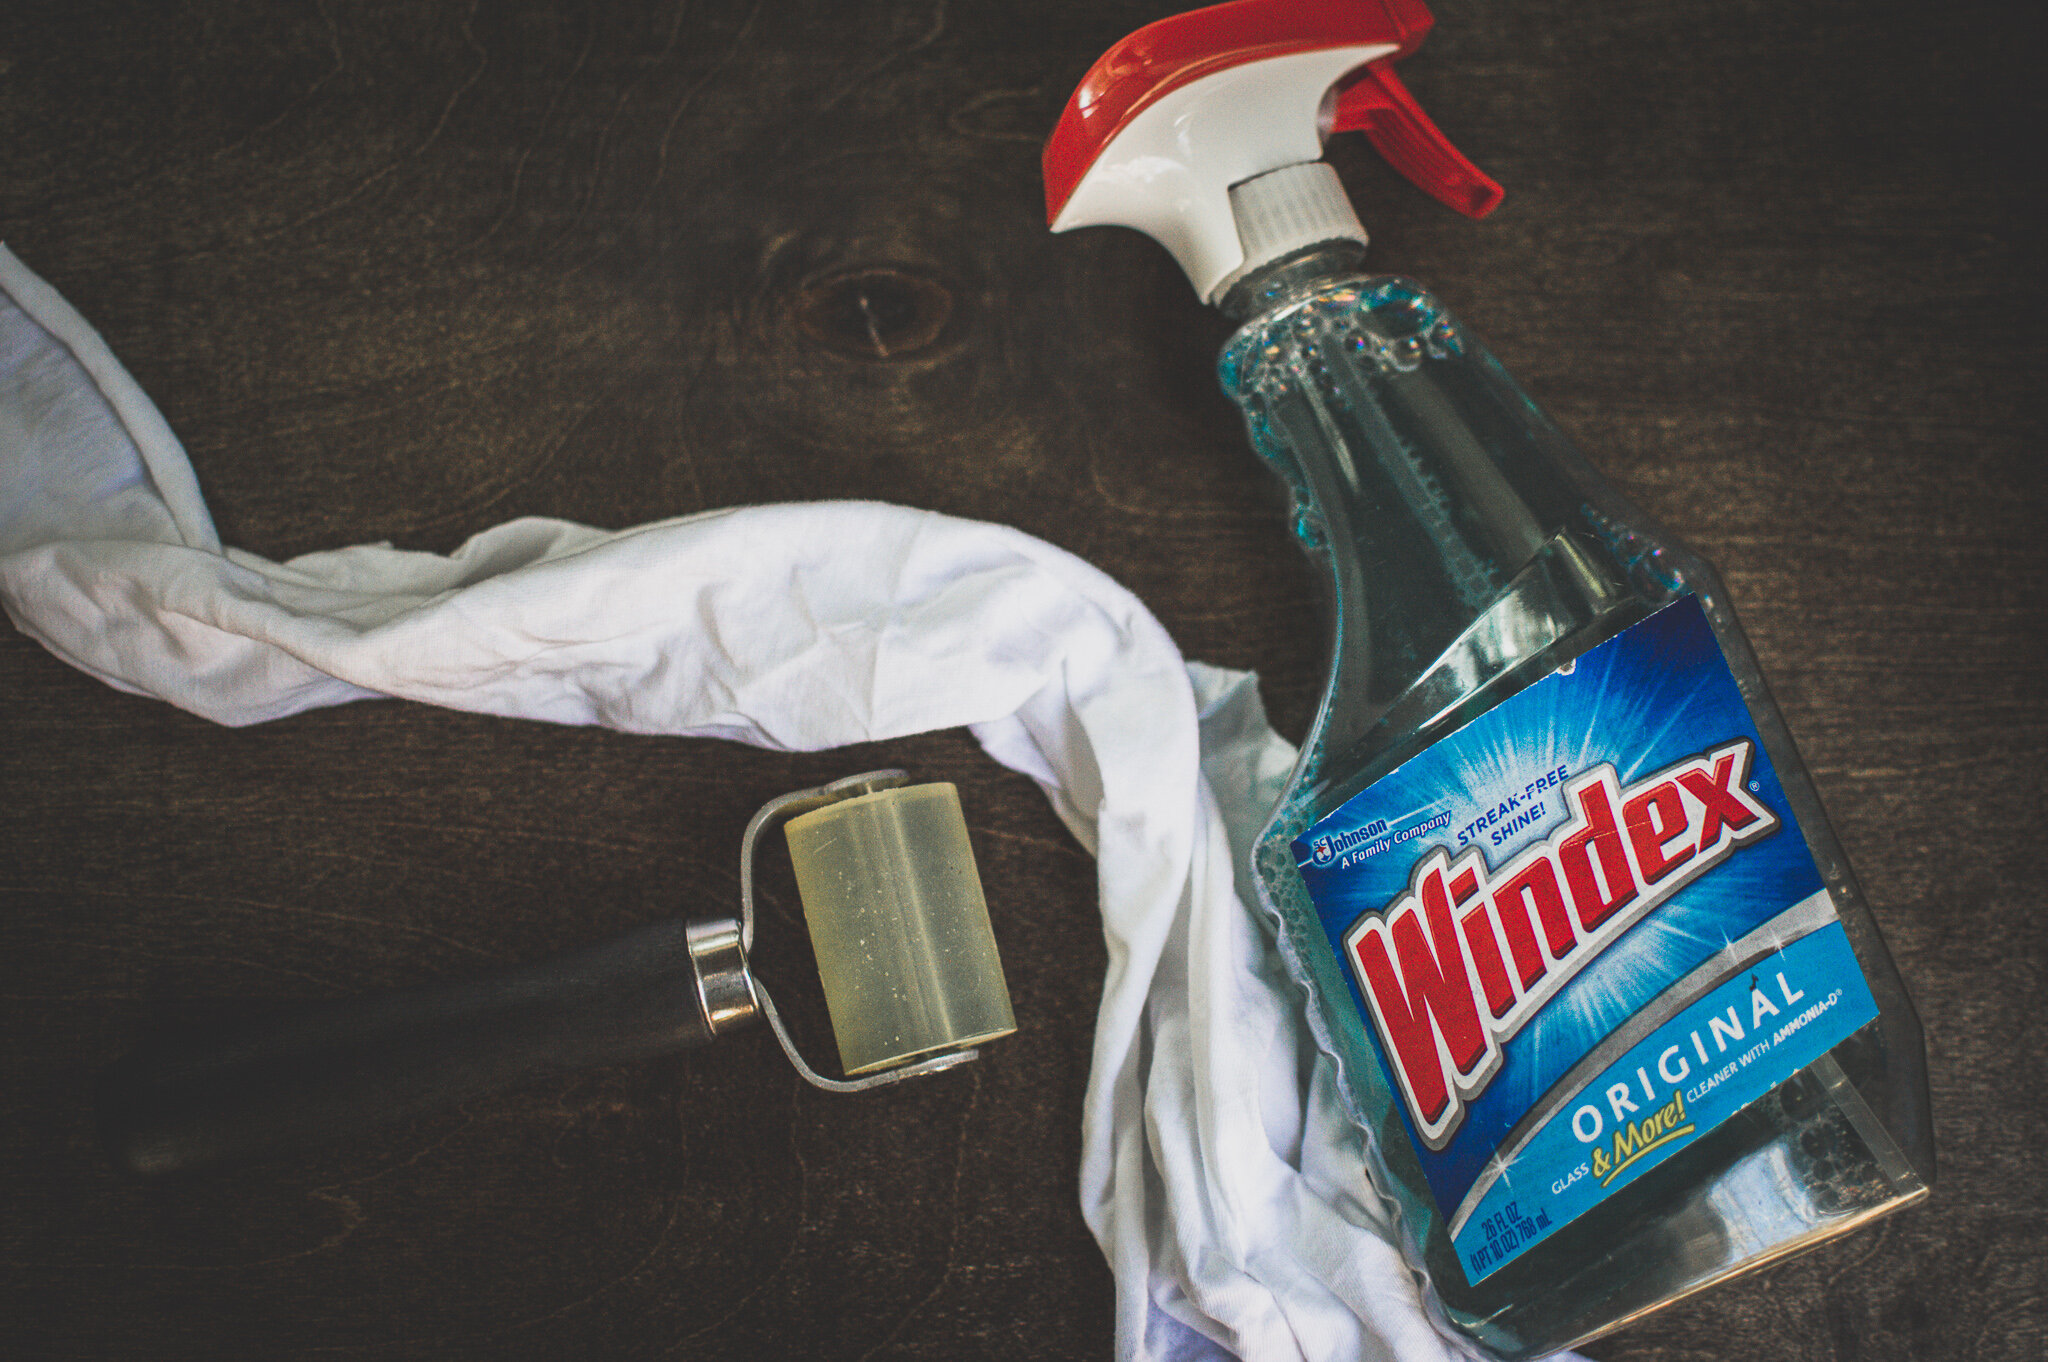
A de-greaser. We recommend Windex.
If working in cold temperatures a hair dryer or heat gun is also recommended.
STEP #2: DEGREASE
Use a degreasing agent to clean the walls of the van. This step is to eliminate surface dust, dirt and greasy fingerprints and allow for more complete adhesion of the sound deadening product. We recommend Windex because most homes already have it lying around and it’ll save you a trip to the store! Simply spray on and wipe off with a dry cloth or rag. Paper towels and a new washcloth can sometimes leave small particles, so avoid these if possible.
STEP #3: CUT TO SIZE
If necessary, cut your pieces to size. We found that the Kilmat rectangles (9.8” x15.7”) worked really well for most walls of the van but we did have to cut pieces to fit some areas of the walls between ribbing a bit better. The sheets can easily be cut using a pair of scissors or a utility knife.
STEP #4: RIP IT AND STICK IT
Pull off the backing and place the sticky side against the van wall. It is recommended to cover about 25% of the metal surface of the van with sound deadening material to achieve the best effect. In our case, we eye-balled it in each section that we placed the sound deadener.
STEP #5: ROLL IT OUT
Use your handy dandy roller and a lot of elbow grease to roll out the honeycomb pattern present in the sheets. This is what prevents the vibration of the metal and provides the sound deadening properties. If you are working in colder temperatures this is where the heat gun comes in handy. Applying a little bit of heat will allow you to roll out the sheets much easier and more effectively.
Congratulations. You now know all that you need to know about sound deadening your van. Consider videotaping a ride in your van pre and post sound deadening to prove the benefit to yourself and others! If you share your video on social media tag us in it - we would love to see your progress! If you have any questions, suggestions or ideas leave a comment below! Consider subscribing to our email list to be the FIRST to receive new blog posts directly to your inbox!
If you are more of a visual learner and watching the process is more your style - check out our Van Build Series episode on Sound Deadening!
*We are a participant in the Amazon Associates Program, as well as additional affiliate programs, designed to provide a means for us to earn a small percentage of sales by linking to Amazon.com and other websites below. Some of the links listed are affiliate links. We appreciate your support!


